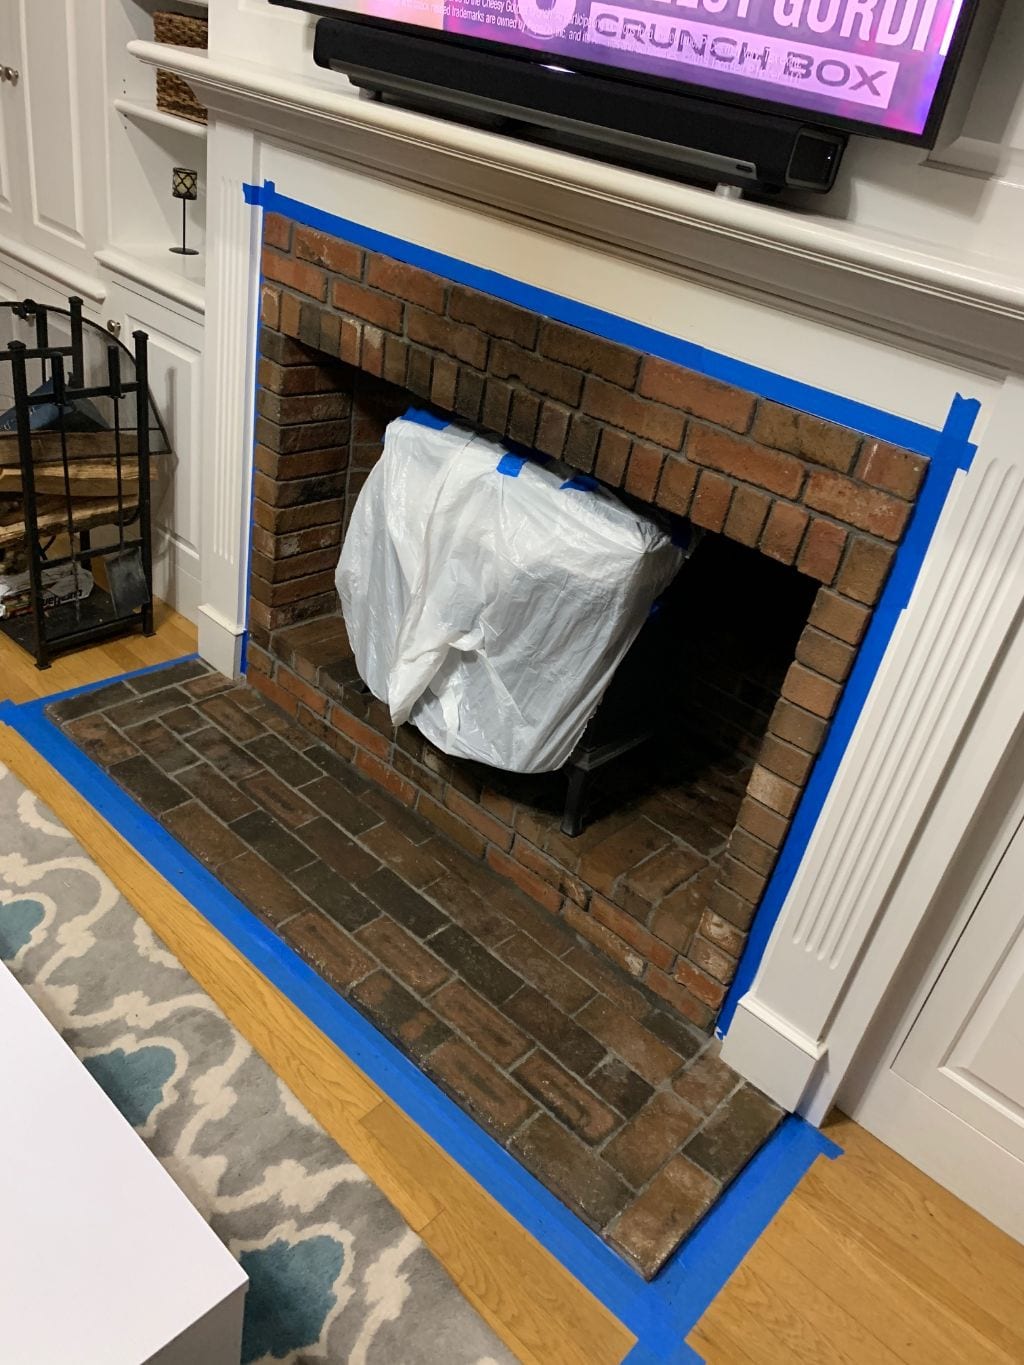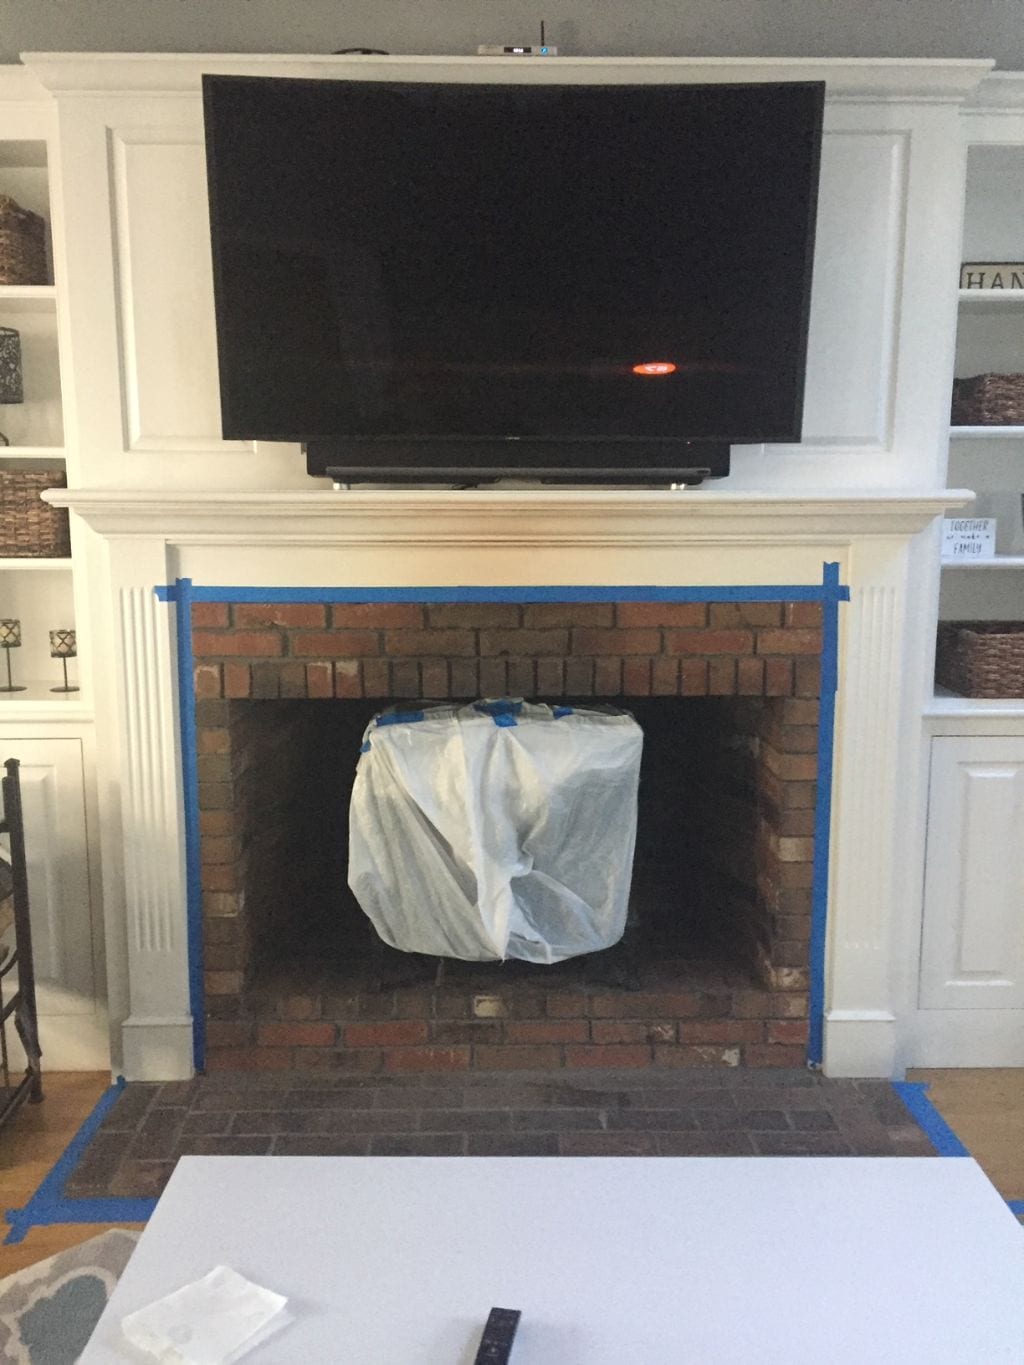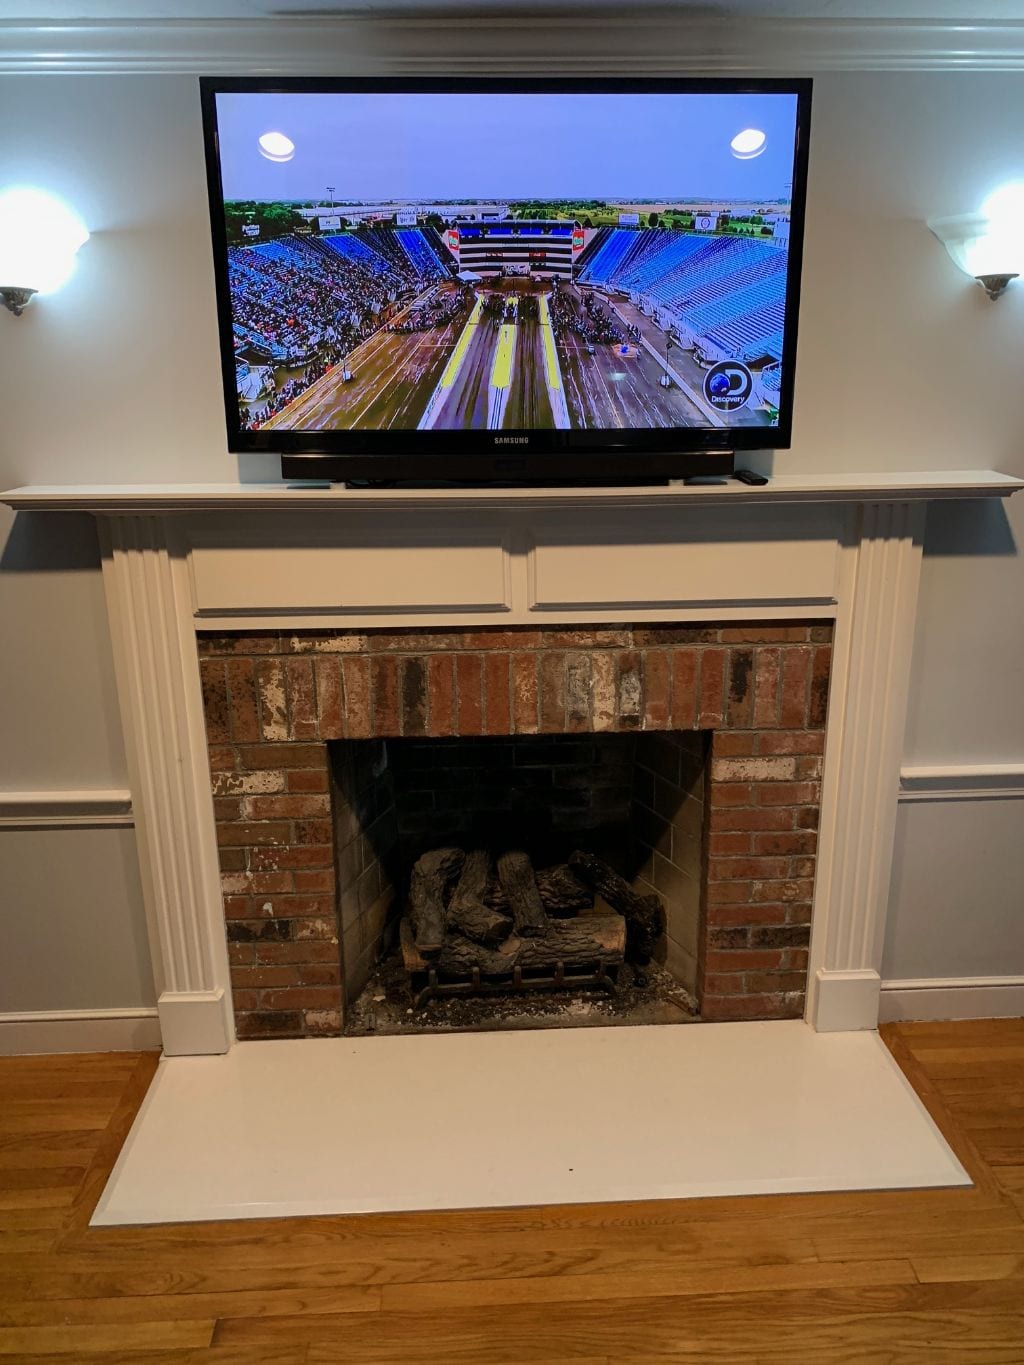
STEP 1: CLEANING & SET-UP
This is a very important step because this project can get very messy so you must be very careful and make sure all nearby items are out of the way and covered in plastics to avoid getting paint on them. In this project we taped along the hardwood floors and the wooden mantel and covered the stove in plastic.
Thoroughly clean the bricks as best as possible using a vacuum and or dry cloth. The object is to remove all dust, cobwebs and staining caused by smoke. You can apply a wet sponge to the bricks but once you’re done cleaning please allow proper time for the bricks to dry prior to painting.
STEP 2: PREPARATION
In a clean bucket mix a solution of 50/50 of water & white latex paint. make sure the solution is thoroughly mixed to maintain an even application. Once you get the hang of it you can play around with the mixture and add more paint if you want the color to be more solid during application.
STEP 3: APPLICATION
Depending on the size of the area you can use a brush or a roller to roll on the paint. In some cases you can use both roller to roll on the paint followed by a brush in order to get deep inside the brick joints and the pores of the bricks. IMPORTANT: Do not paint too much at once because the paint can dry fast and will make it difficult for the next step (
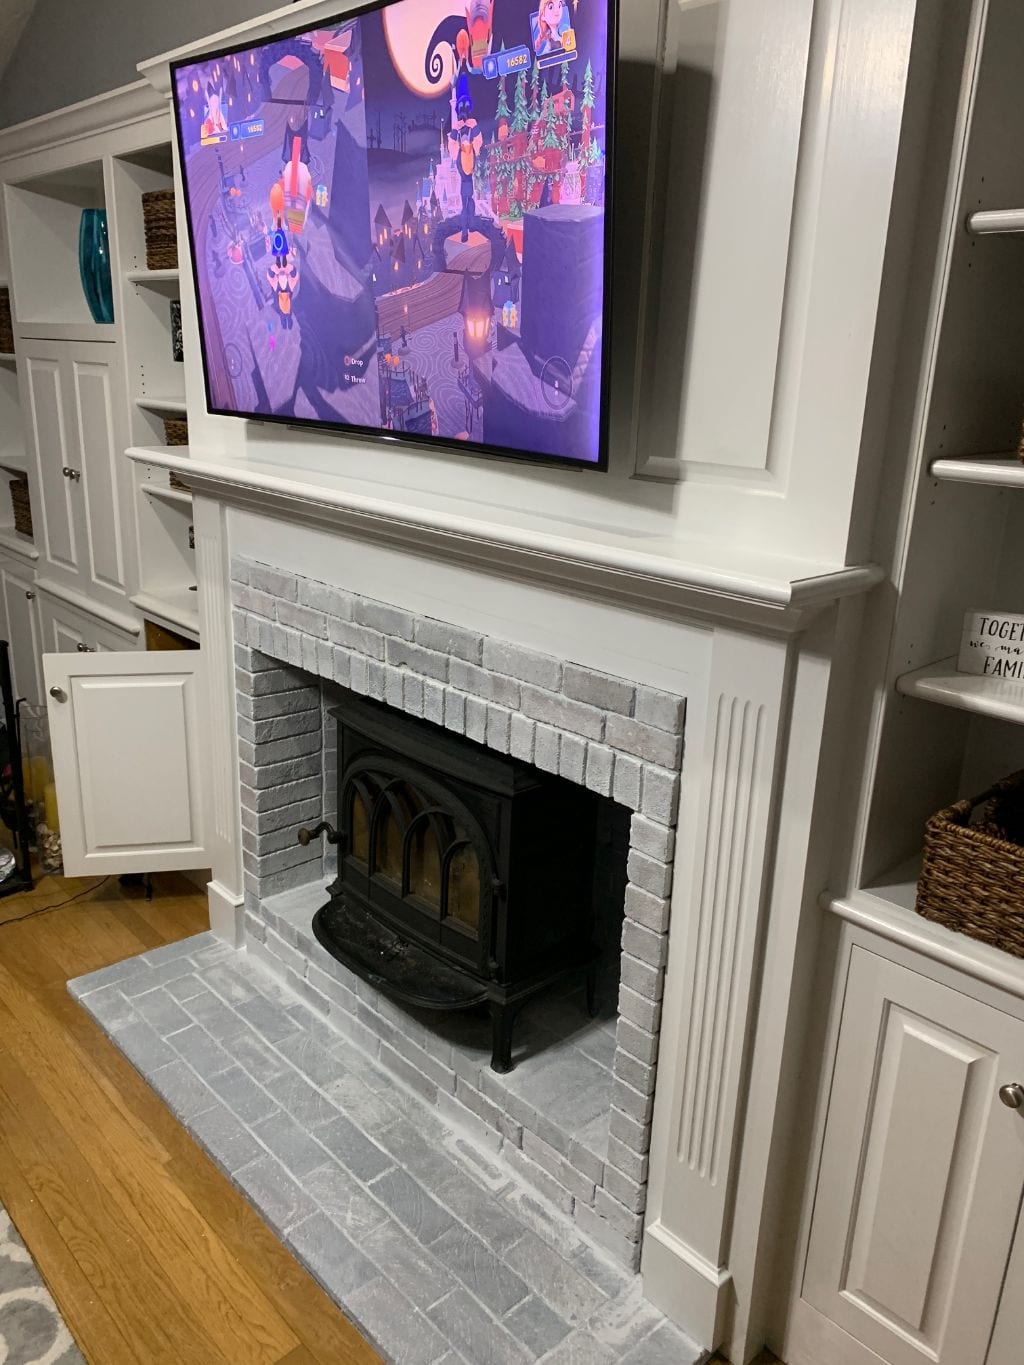
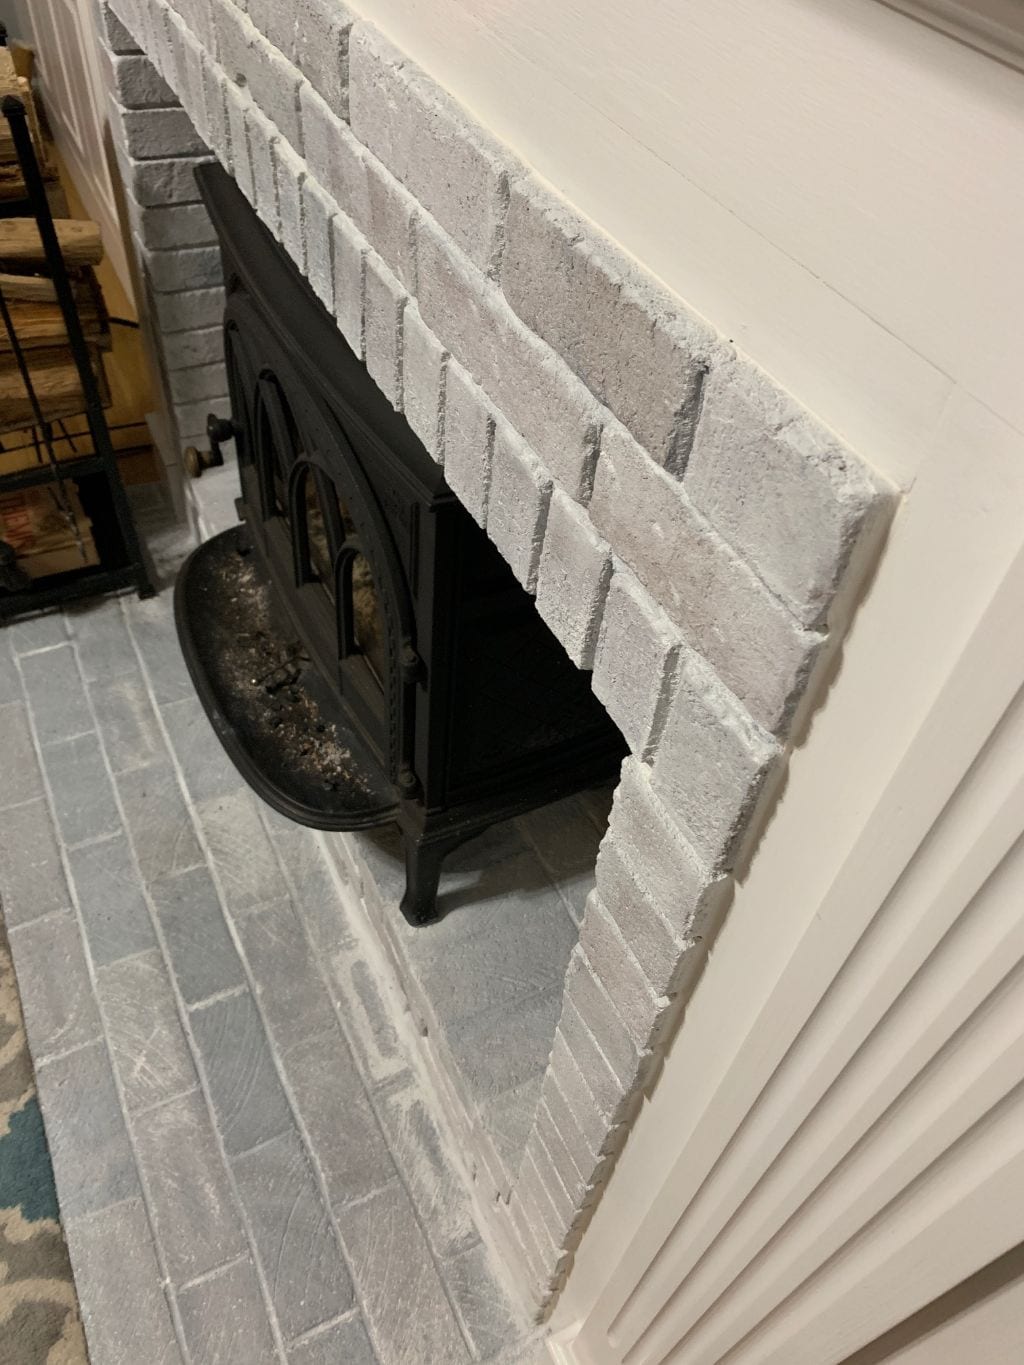
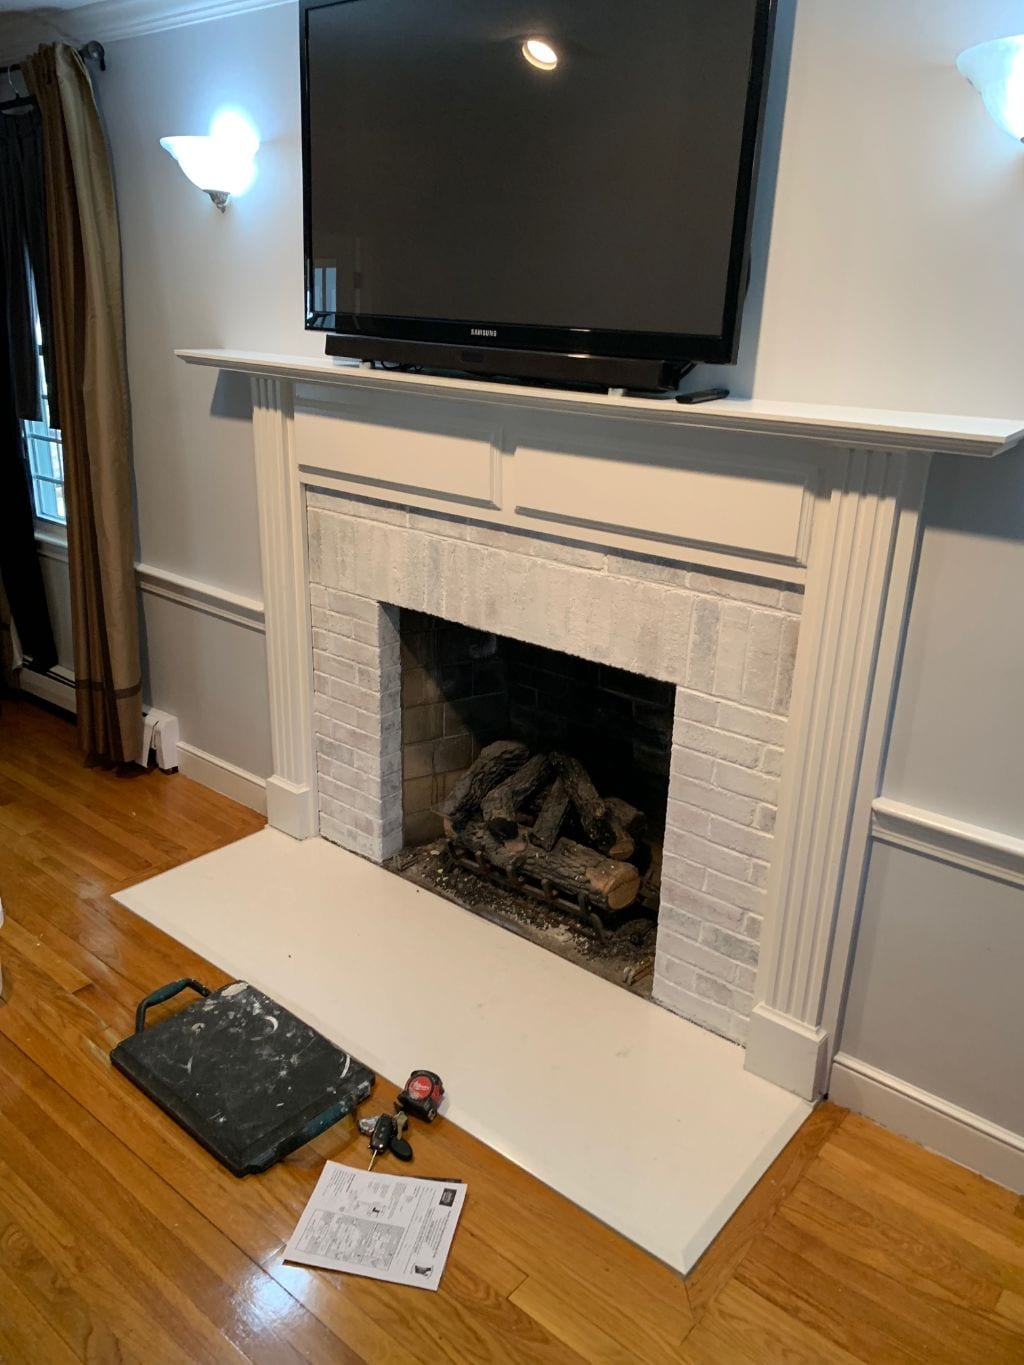
STEP 4: FINISH LOOK
Once the whitewash has been applied to the bricks. Allow the bricks to dry 5 – 10 minutes. Using a sponge (Similar to one used for TILING),dip the sponge in a clean bucket of water and rinse off the water so its not too wet and rub sponge onto bricks removing some of the paint while exposing the bricks in the process. This process can be applied several times depending on your desired finish. The more coats the whiter the finish. HINT: Pictured below we have 2 different fireplaces and have applied 2 coats.